This guide demonstrates how to automate DFU restores of Apple Silicon MacBooks using Acroname's USBHub3c, DFU Automator, and Apple Configurator. This setup lets you manage bulk macOS provisioning, restore bricked devices, and deploy custom OS images - in batches or asynchronously - via DFU mode.
Overview
Apple Devices can be put into Device Firmware Update (DFU) mode to allow for firmware updating, recovery, or custom OS installation. Normally, DFU commands are Vendor-Defined Messages (VDMs) that require a direct one-cable host-to-device connection because VDMs are not forwarded by USB hubs. This limits the number of Apple devices that can be DFU restored at once.
However, USBHub3c is capable of direct VDM injection, enabling it to trigger DFU mode on connected devices. Combined with DFU Automator, a tool that lets Apple Shortcuts control USBHub3c's DFU functions, and Apple Configurator, this system allows for automated DFU restores of multiple MacBooks.
How it Works:
- Apple Configurator is set up to run a restore shortcut automatically when a device connects—but only proceeds if the device is in DFU mode.
- The User connects target MacBook(s) and clicks the DFU automator shortcut to put one or all MacBooks into DFU Mode.
- The MacBooks restart in DFU mode.
- Apple Configurator sees the MacBooks connect and launches the Restore MacBook from ECID shortcut.
- MacBooks are erased and restored with the selected image.
Requirements:
- Mac Host with
- Apple Configurator
- DFU Automator
- HubTool
- MacOS restore image
- Acroname USBHub3c
- Acroname PD Logging License for USBHub3c
- Power supply (Acroname 280W 24VDC Desktop AC/DC Power Adapter recommended)
- Quality USB-C power and data cables
Installation
Install Software
- Apple Configurator
Install from the Mac App Store - HubTool
Download from Acroname and install. Used to configure power delivery for USBHub3c. - DFU Automator
- Download
- Open the .dmg disk image and drag DFU Automator into the Applications folder.
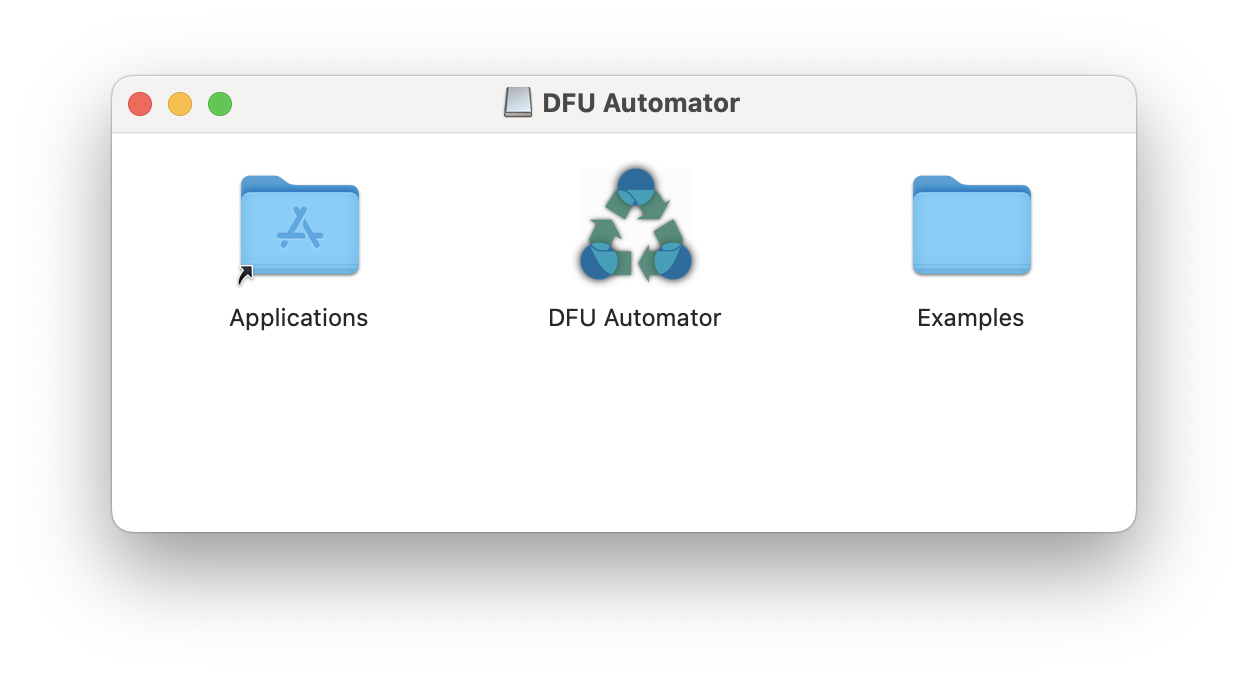
- Launch DFU Automator from the Applications folder once to allow Shortcuts to recognize it.
Add shortcuts
In the DFU Automator Examples Folder:
- Double click each .shortcut file.
- Click "Add Shortcut" in the Shortcuts app popup.

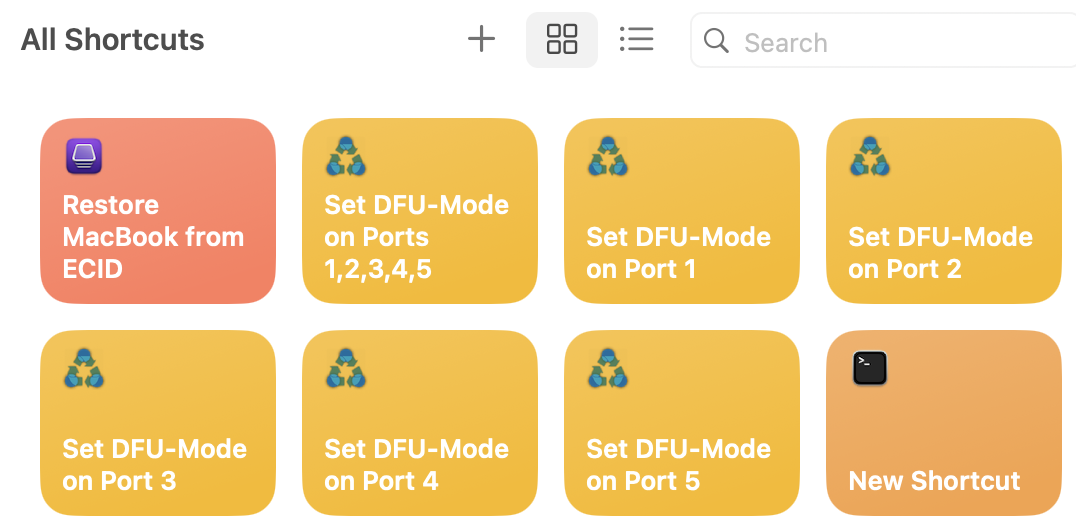
- The shortcut will now appear in the Shortcuts app under All Shortcuts.
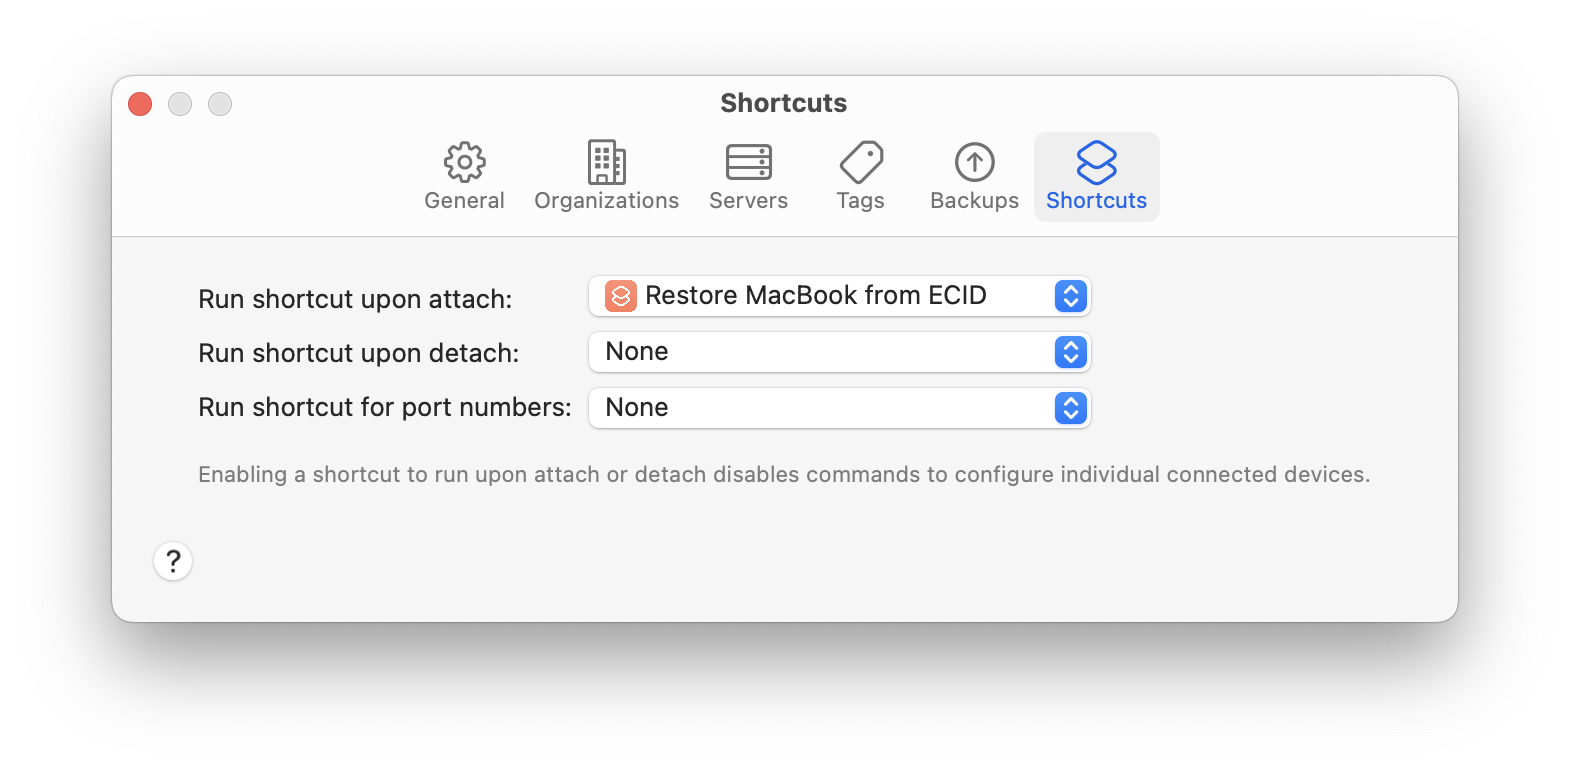
Configure Apple Configurator
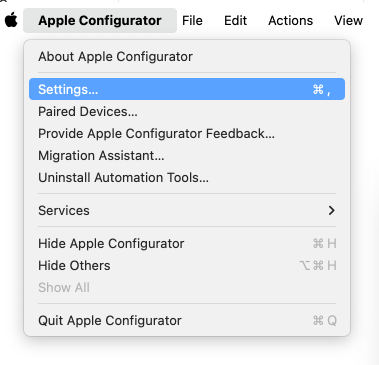
- Open Configurator > Settings > Shortcuts.
- Under "Run shortcut upon attach", select Restore MacBook from ECID.
- If not listed, double-click the shortcut first to import it into your library.
Power Configuration (One-time Setup)
USBHub3c can allocate up to 100 W to each port. To ensure that power gets distributed evenly to all connected MacBooks, we will need to set the maximum power for each port based on the total power available from the power supply.
| Power Adapter | Max power per port |
|---|---|
| 280 W | 45 W |
| 100 W | 15 W |
- Connect the power adapter to the appropriate power port on the rear of USBHub3c.
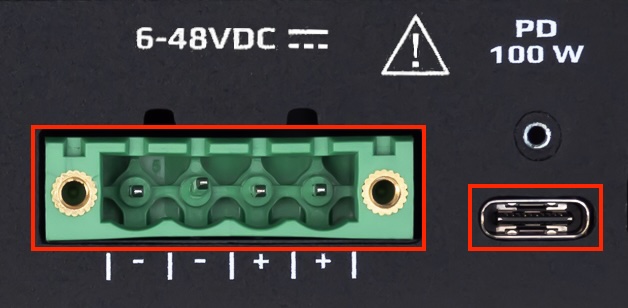
- Use the green Eurostyle connector for the 280 W supply.
- Use the PowerC USB-C port for a 100 W USB-C supply.
- Connect the host Mac to port 0 on USBHub3c
- If using a 100 W supply and intend to DFU restore five target MacBooks at a time, connect the host Mac's AC power adapter to ensure that it will have sufficient power.
- If using a 280 W supply (or higher), the host Mac can optionally be powered by the USBHub3c.
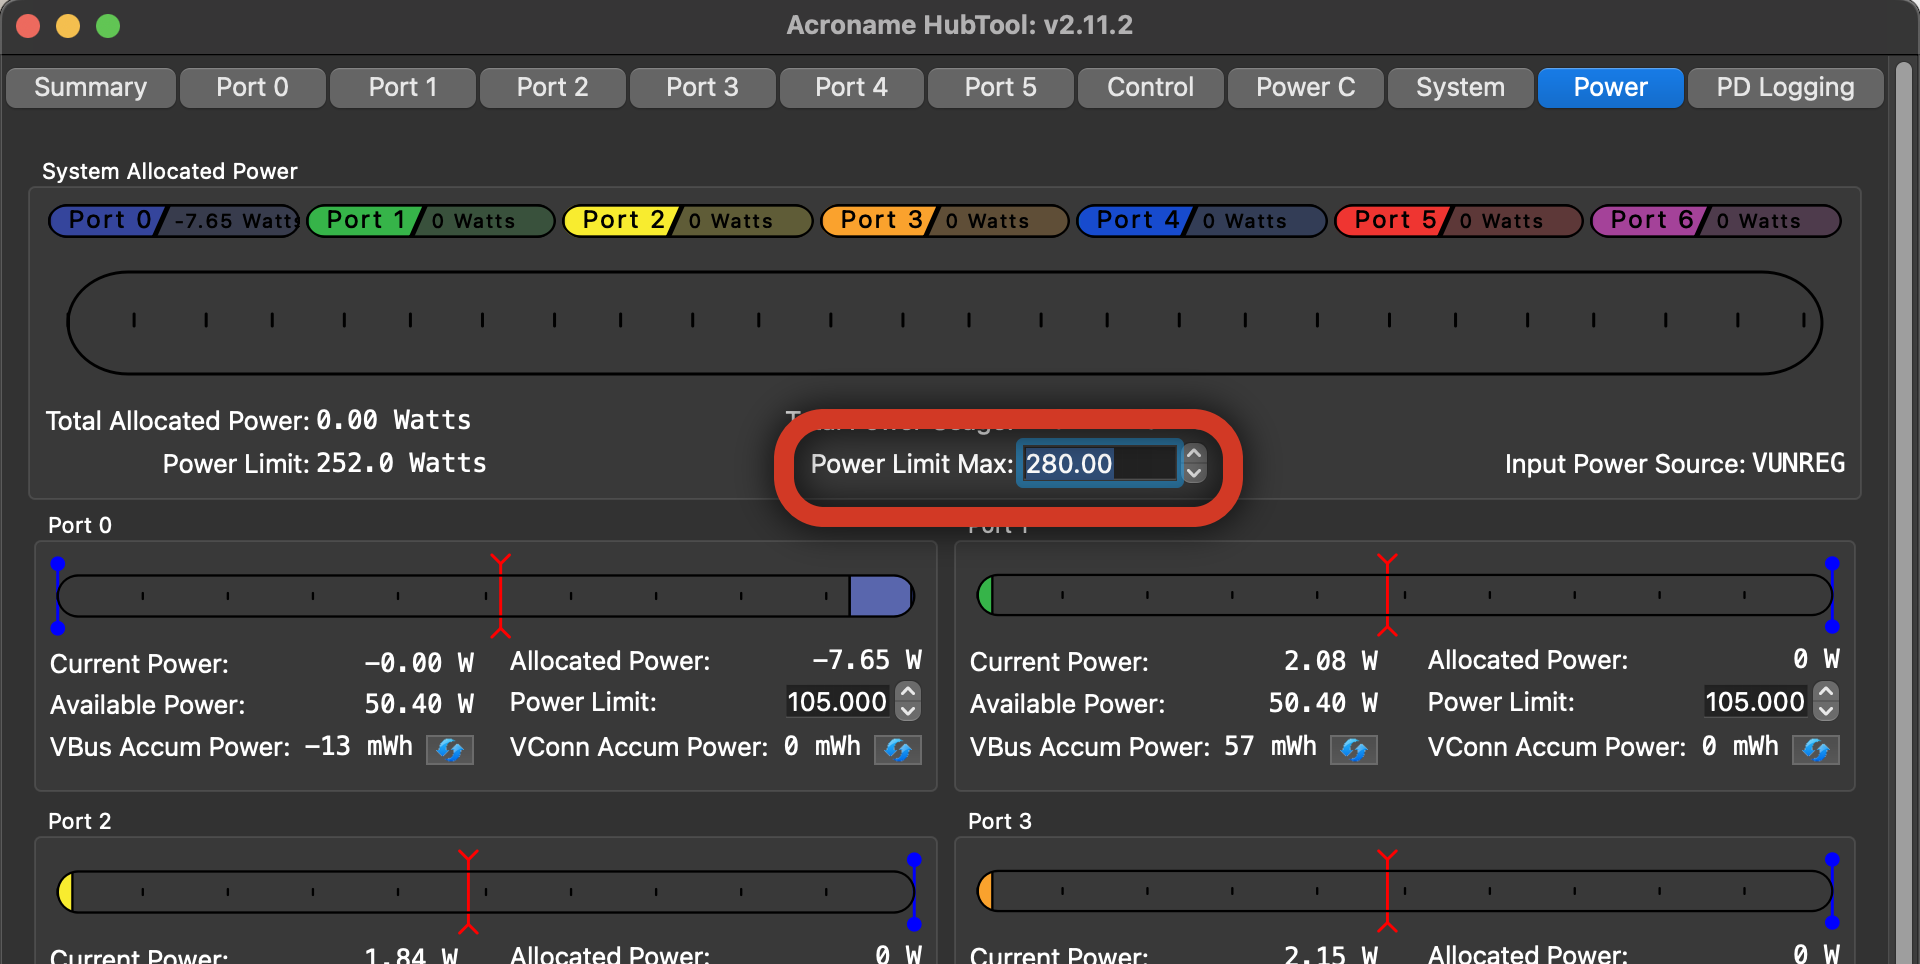
- Launch HubTool.
- In the lower right of the main HubTool window, select the serial number of the connected USBHub3c
- Under the Power tab, set Power Limit Max to the maxuimum wattage of of the connected power adapter.
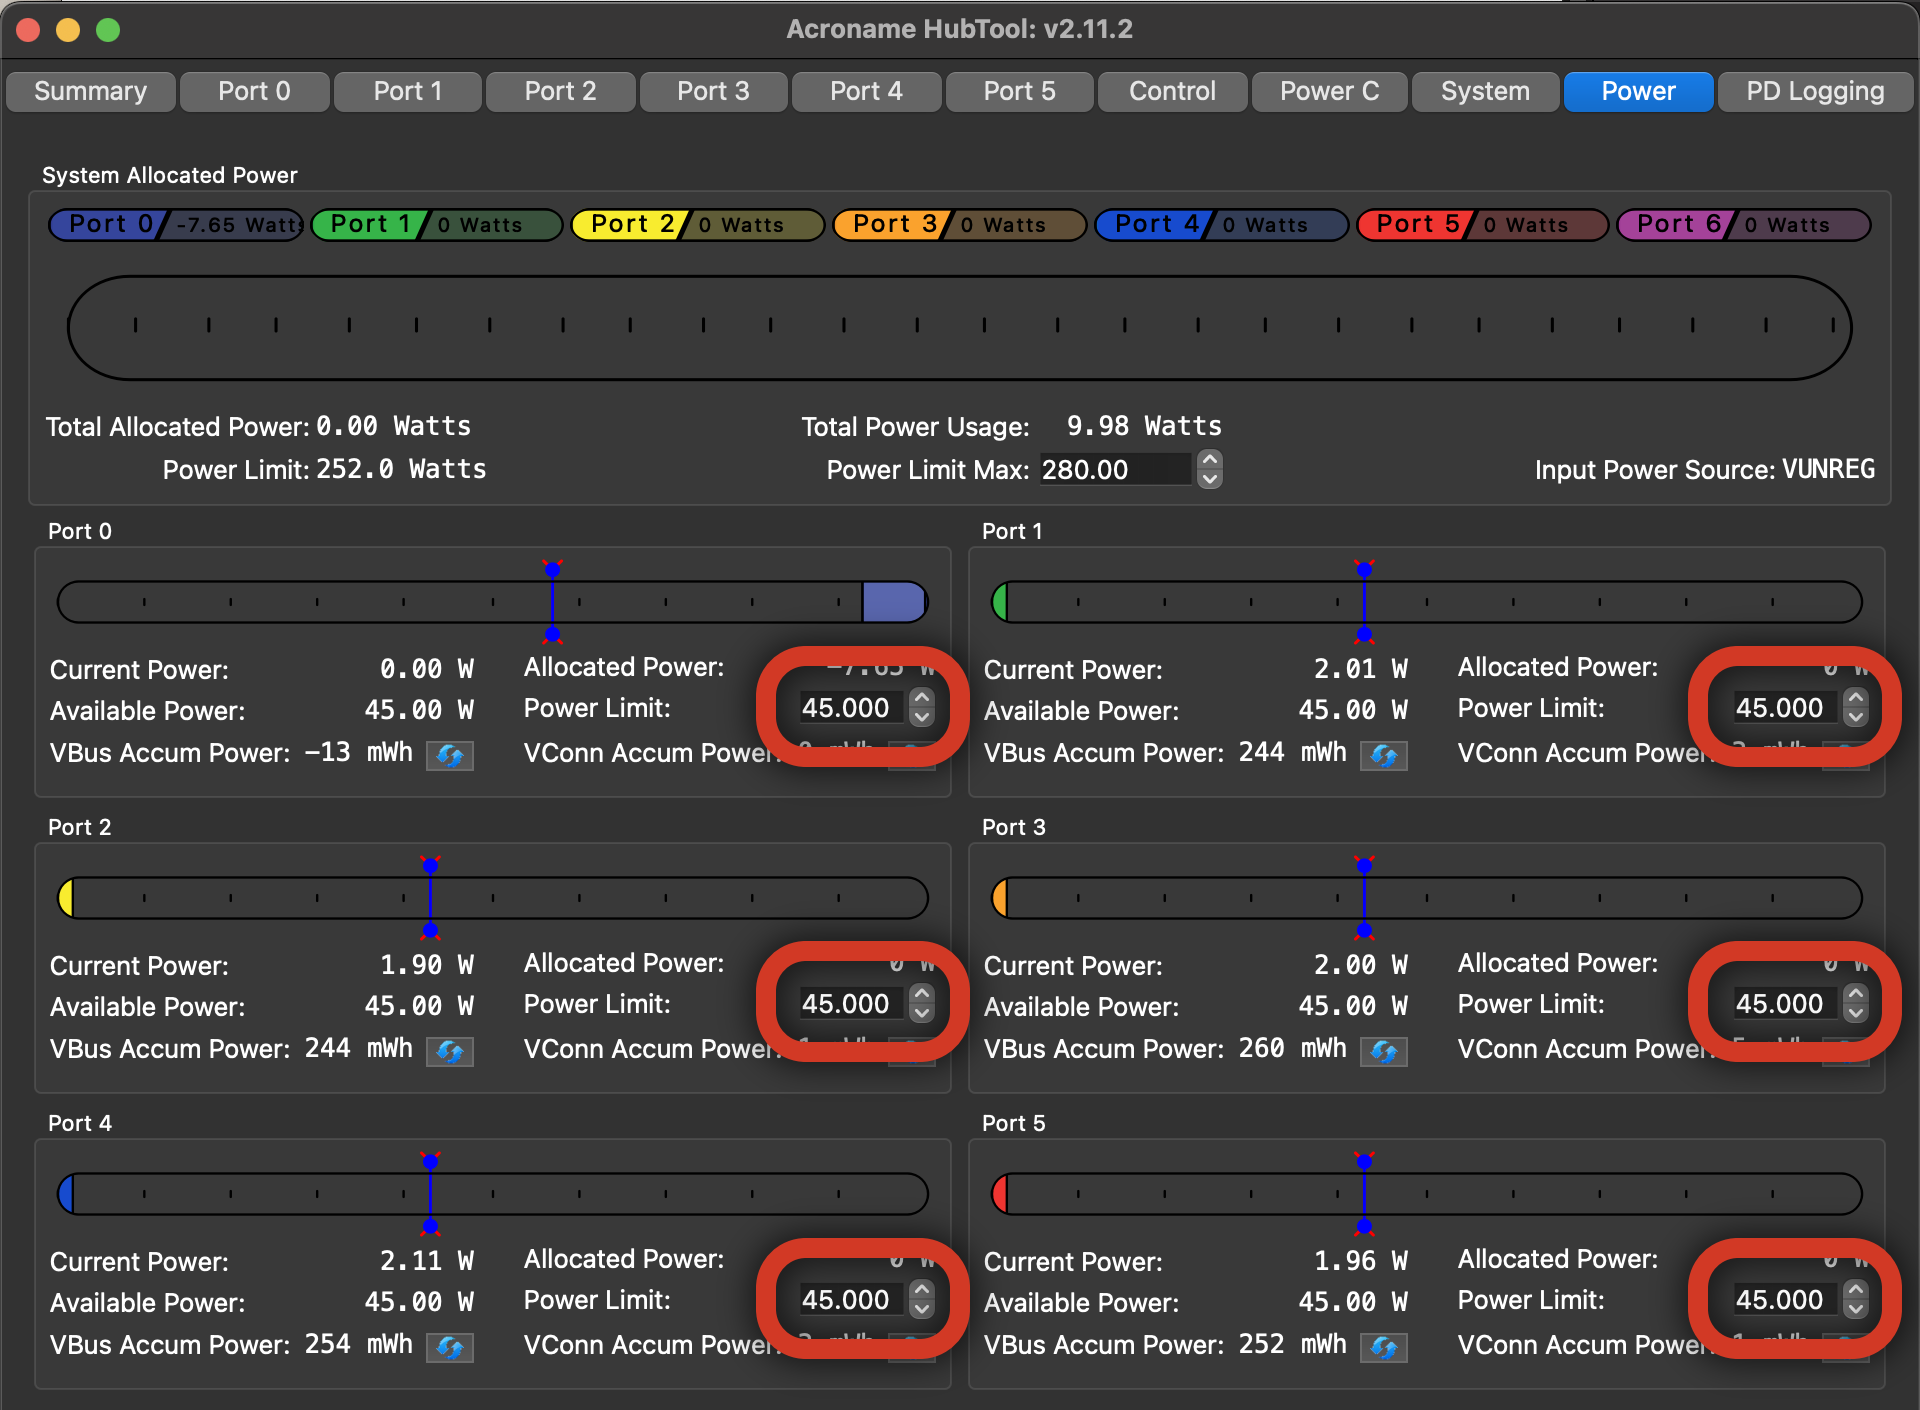
- Set the individual power limits of each port to 45 W (or 15 W if using 100W USB-PD supply).
- Set the policy of ports 1 through 5 to Source (instead of Sink/Source).
- Port Tab / Advertisements / Port Policy / Source
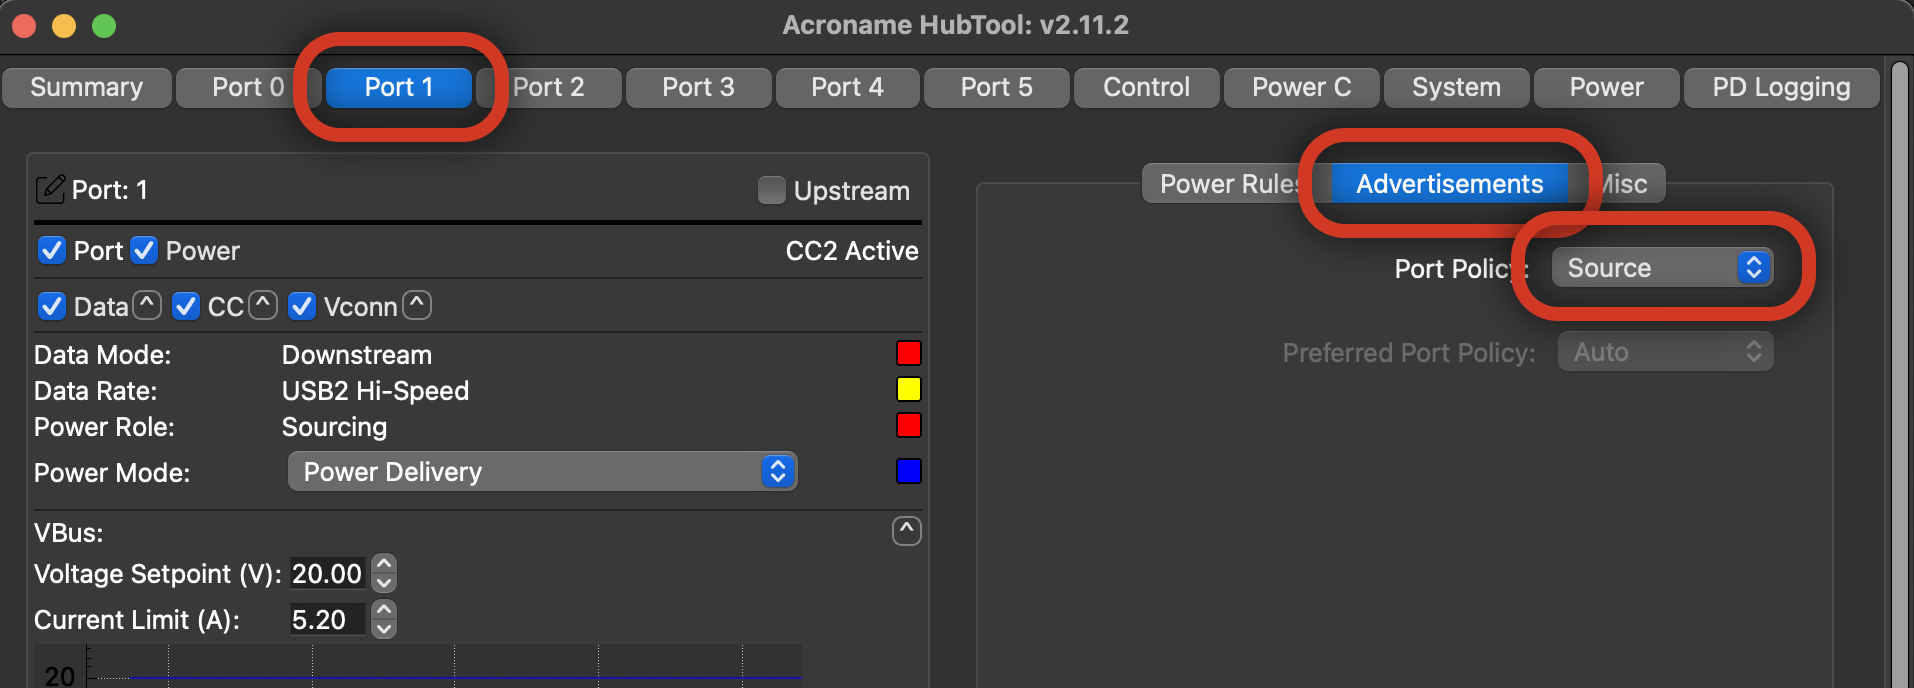
- Port Tab / Advertisements / Port Policy / Source
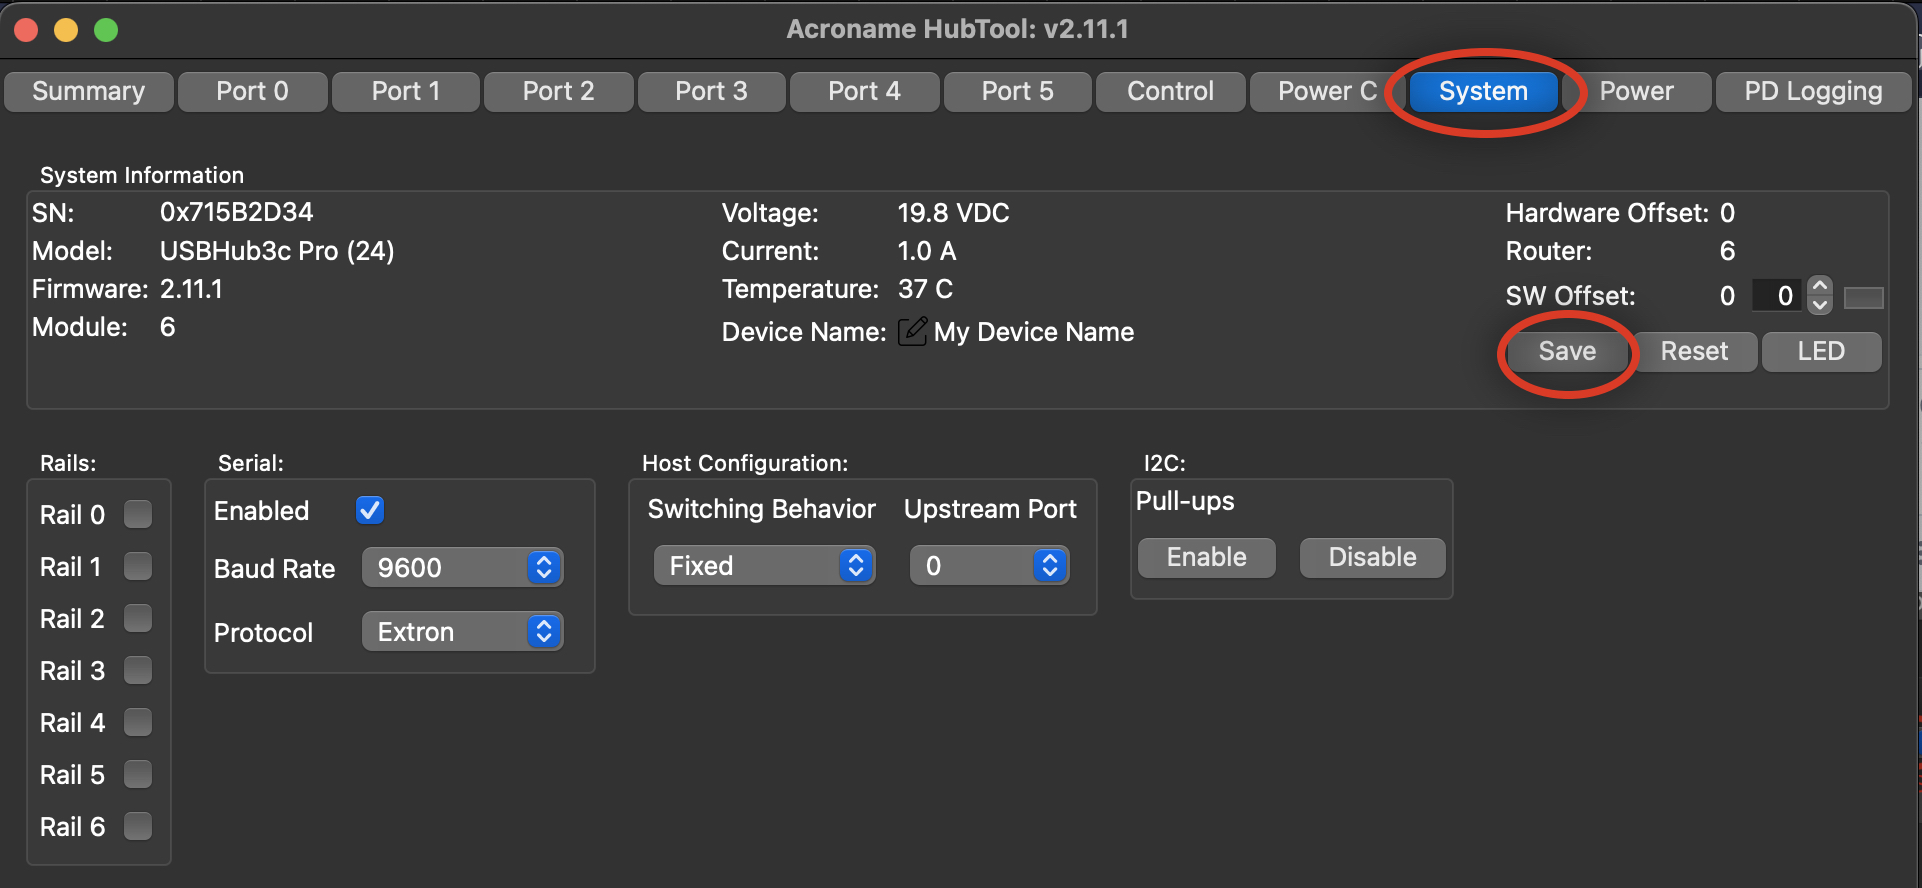
- Save settings.
- System Tab / Save
- The power settings will persist across hub power cycles.
Find the DFU Port on the target Apple Silicon Macs
Only one port per MacBook supports DFU. It's unfortunately model-specific.
- MacBook Pro 14in 2024 with regular M4 (not Pro or Max) chip: Left side, away from the hinge
All other Apple Silicon MacBooks: Left side, towards the hinge
- MacBook Air 2025: Left side, away from the hinge
All other Apple Silicon MacBook Airs: Left side, towards the hinge
DFU restore Workflows
option 1: Batch DFU Restore
To DFU-restore all connected MacBooks:
- Connect up to five target MacBooks to USBHub3c ports 1–5 (via DFU-capable ports).
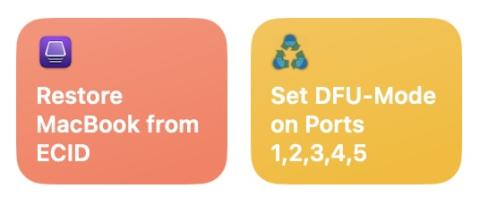
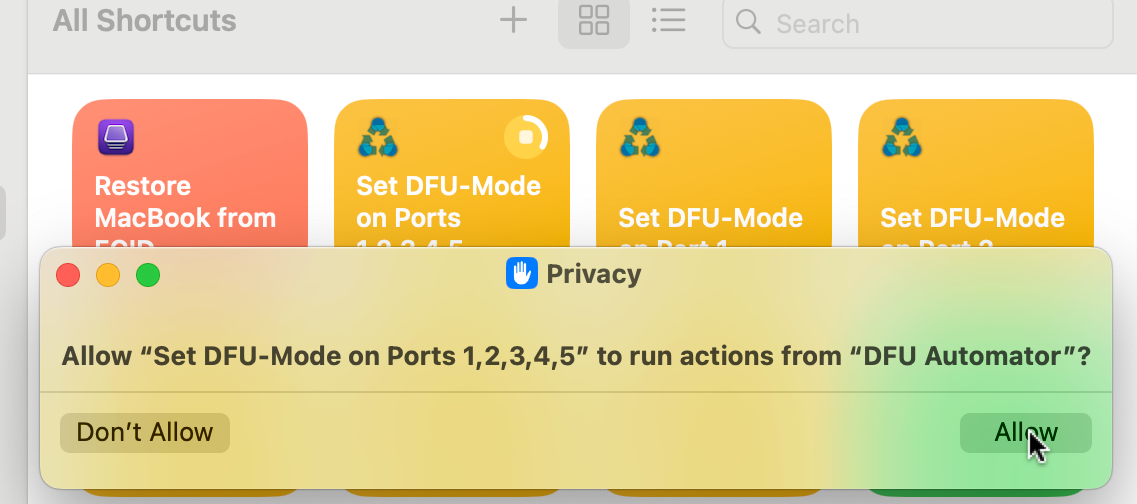
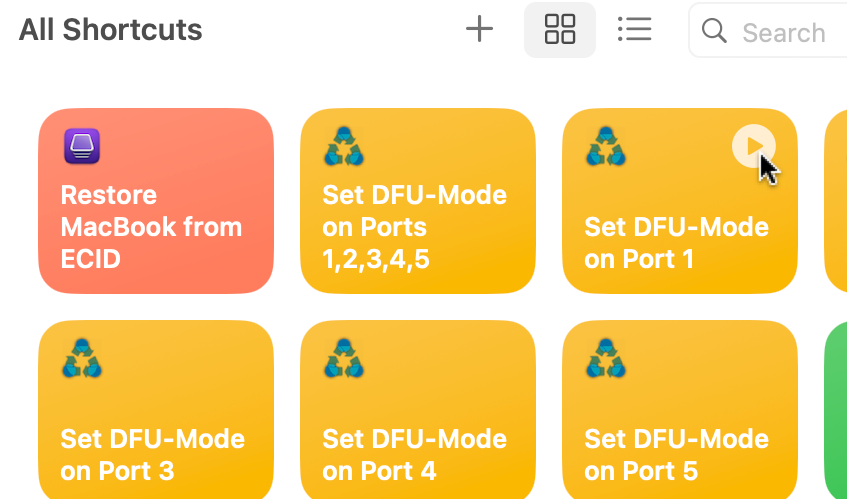
⚠️ Devices will be erased. In Apple Shortcuts, click the play button in the upper right of the shortcut icon or the expanded view of the shortcut to run Set DFU-Mode on Ports 1,2,3,4,5

- Click "Allow" to let the shortcut run actions.
- MacBooks will enter DFU mode (black screen + chime).
- Approve any other privacy popups that appear.
- Apple Configurator will detect each attached DFU-mode device and automatically execute the Restore MacBook from ECID shortcut for each MacBook.
- Configurator will erase and restore the attached MacBooks (takes a few minutes).
- MacBooks will reboot when the DFU restore process is complete
option 2: Asynchronous Restore
To start DFU update mode asynchronously, each port's dedicated update script is manually triggered independently. Depending on your workflow, this may be higher overall throughput since each MacBook restore can be triggered immediately instead of waiting for a batch to be ready.
Connect the target MacBook DFU-enabled USB-C port to an available USBHub3c port (1-5)
⚠️ Devices will be erased.
- Run the corresponding Set DFU-Mode on Port # shortcut.
- Approve any privacy popups.
- Connected MacBook will reboot into DFU Mode
- Apple Configurator will detect the attached DFU-mode device and automatically execute the Restore MacBook from ECID shortcut for that device.
- Configurator will erase and restore the attached MacBook (this takes a few minutes).
- The MacBook will reboot when the DFU Process is complete.
At any time in this process, another MacBook restore can be started by connecting the target MacBook to a port and starting the corresponding shortcut.
Conclusion
Using USBHub3c with DFU Automator and Apple Configurator enables automated re-imaging of Apple laptops. Whether restoring a few devices or deploying a large fleet, this system saves time and keypresses.
Add New Comment